Zone System for Film Photography Exposures
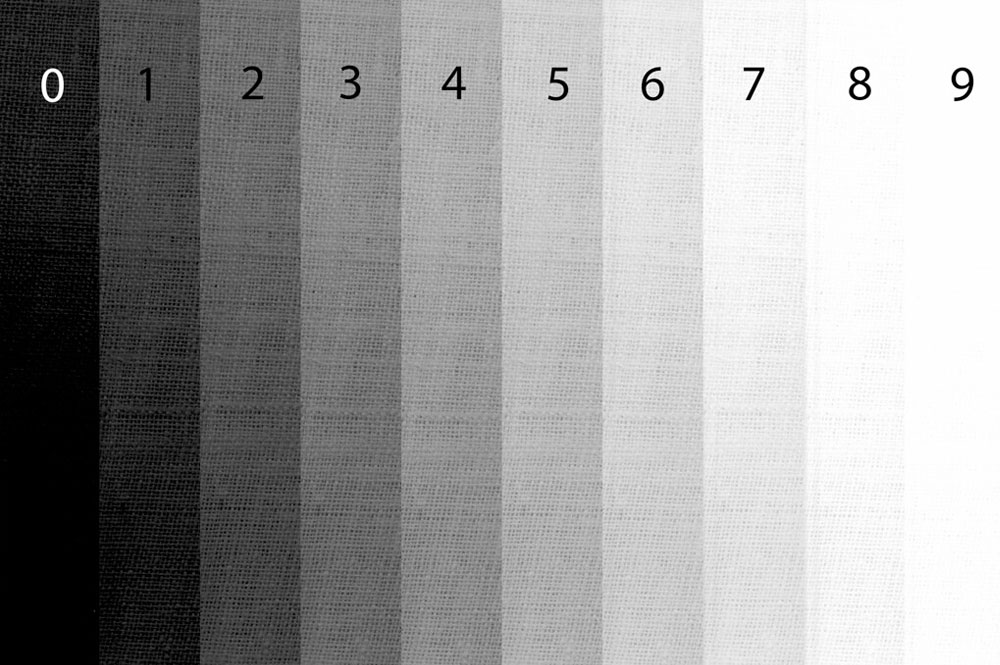
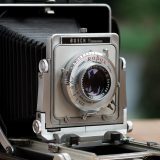
Photo by Kurt Zoglmann. Licensed under CC BY 2.0
The zone system was created by famous photographer Ansel Adams in the 1940s as an exposure guide to photography. This was a systematic formula created for gaining the correct exposure for film photography in any lighting situation. Basically, Adams’ zone system states that you should expose the film for shadows and print the photograph for the highlights. The system nearly guarantees correct exposure in the darkest and lightest of areas, particularly with modern-day variable contrast paper.
Detailing the Zone System for Film Exposure
The zone system is divided into ten different zones, with zero being black and ten being white. Zone five is the middle gray, which most light meters attempt to measure. Below is a basic outline of each zone, zero through ten.
- Zone 0 – Total black
- Zone I – Black without any texture
- Zone II – Black with some minor tonality
- Zone III – Dark areas with some detail
- Zone IV – Shadow areas
- Zone V – Middle gray (light meter reading or 18% gray card)
- Zone VI – Caucasian skin tone
- Zone VII – Light areas with some minor detail
- Zone VIII – White with some minor tonality
- Zone IX – Glaring white surfaces and no texture
- Zone X – Total white (matches the white of photographic paper)
Light meters will take the average of all incoming light and average it out to one single middle gray, even if the image is high in contrast between light and dark areas. Alternatively, if you use a gray card to measure light you will also run into a problem with different lighting situations.
Applying the Zone System to Film Photography Tips and Techniques
So how does the zone system work? In simple terms, you measure the average light for the scene you are shooting, zone five, and then adjust the exposure accordingly. Each zone represents one f-stop of the aperture, so you will need to increase or decrease accordingly. Say, for instance, the darkest area of your composition fits within zone three, then you will need to decrease the aperture by two f-stops. Or, if the darkest area fits within zone seven, you will need to increase the aperture by two f-stops.
The zone system works effectively for black scenes like night photography and bright, white scenes like winter photography. Read more about basic photography tips and techniques using a medium format, large format, or 35mm film camera in this complete photography guide.