Darkroom Supplies for Film Photography Printing
Guide to Photography Darkroom Set Up
This guide to photography will discuss the basic set up for a photography film darkroom lab to print your own photo film. You can purchase darkroom kits and supplies from many online retailers and large camera shops to obtain everything you need. Often times, an extra bedroom or bathroom will be used to successfully create a home beginner darkroom setup. However, the problem lies when the bathroom or spare bedroom is needed for its typical use. Ultimately, it will serve you well to have a permanent darkroom where your equipment and supplies do not have to be moved often. It will create less hassle for you and will also ensure your supplies stay in good condition. For any darkroom, it would be suggested that you have a wet area and dry area to keep your supplies.
Wet Area Supplies for Basic Darkroom Setup
1 – Trays. Trays are essential to hold the individual chemicals and water for print development. The trays should be separated slightly so that you can agitate the print by rocking the tray slightly. It is best to have a tray that is slightly larger than the paper size you plan to use. If you plan to use multiple sized papers, you should also have multiple trays so that you do not waste chemicals for a large tray when you are developing small prints.
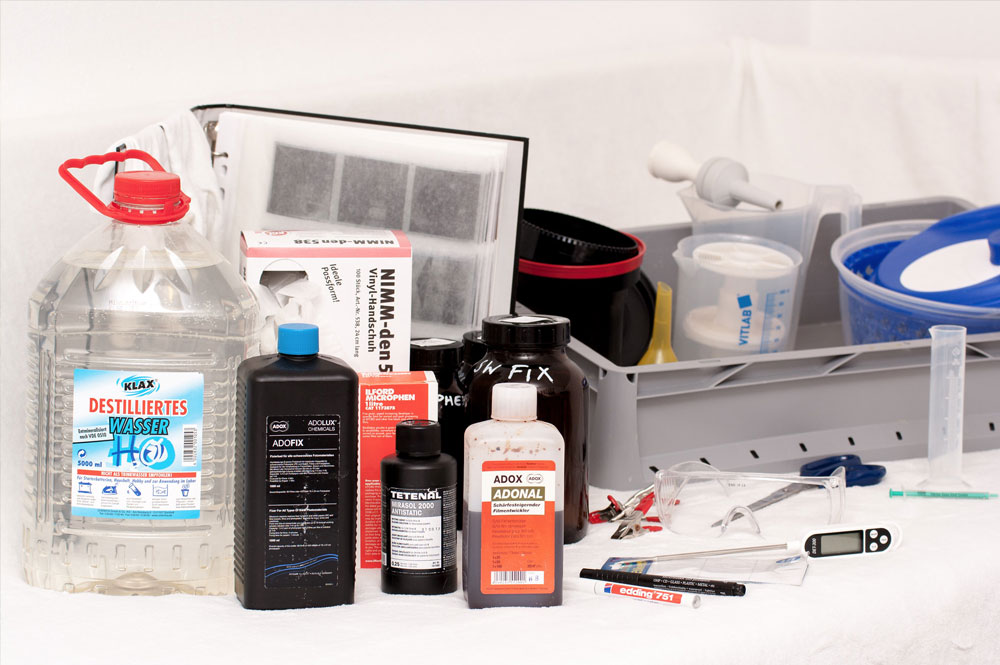
2 – Chemicals. Depending on whether you develop color or black and white prints, you will need different chemicals for each. The chemicals will require that you dilute the chemical with water. The chemicals should be kept away from anything else as any leakage can affect your work area or prints.
3 – Darkroom sink. Your prints require running water for the final wash to be sure all chemicals are removed. It will also be worth while to install a filter in the sink to have particle free water.
4 – Drying rack. While this can be considered a dry area necessity, it should be placed close to the wet area so that you can quickly hang or set prints on the drying rack without getting water all over. You may also want to have a tray underneath the rack so that any dripping water does not end up on the floor.
Beginner Photography Darkroom Dry Area Equipment
1 – Darkroom Enlarger. This is the essential tool for printing your negatives onto paper. It may also require that you have a tall ceiling as some enlargers have large columns.
2 – Print easel. This easel will hold the paper flat for when it is exposed. It will also allow you to adjust the size of your print on the paper, giving you more options than a standard 8 x 10 print.
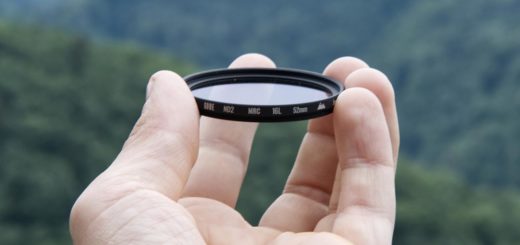
3 – Filters. There are filters to be used on your enlarger that will adjust the contrast levels of your print. These filters range from 0 to 5 at will give you more or less contrast if needed.
4 – Cupboard or drawer. This will be used for your paper and negatives so that when the lights are on the paper is protected from being exposed and ruined.
5– While not necessary, a light box will be useful to help you see your negatives. If you place the light box in your dark room, be sure to keep it away from your light sensitive paper.
Other Supplies Needed for a Film Photography Darkroom
1 – Safelight. There are safelights with various degrees of colors to match various sensitivities of papers that will allow you to see in the darkroom without causing harm to your light sensitive printing paper.
2 – Darkroom Fan and Ventilation. The more ventilation available, the better it will be for your health. If you can buy and install a ventilation system it will be even better.