Why Your Light Meter Lies
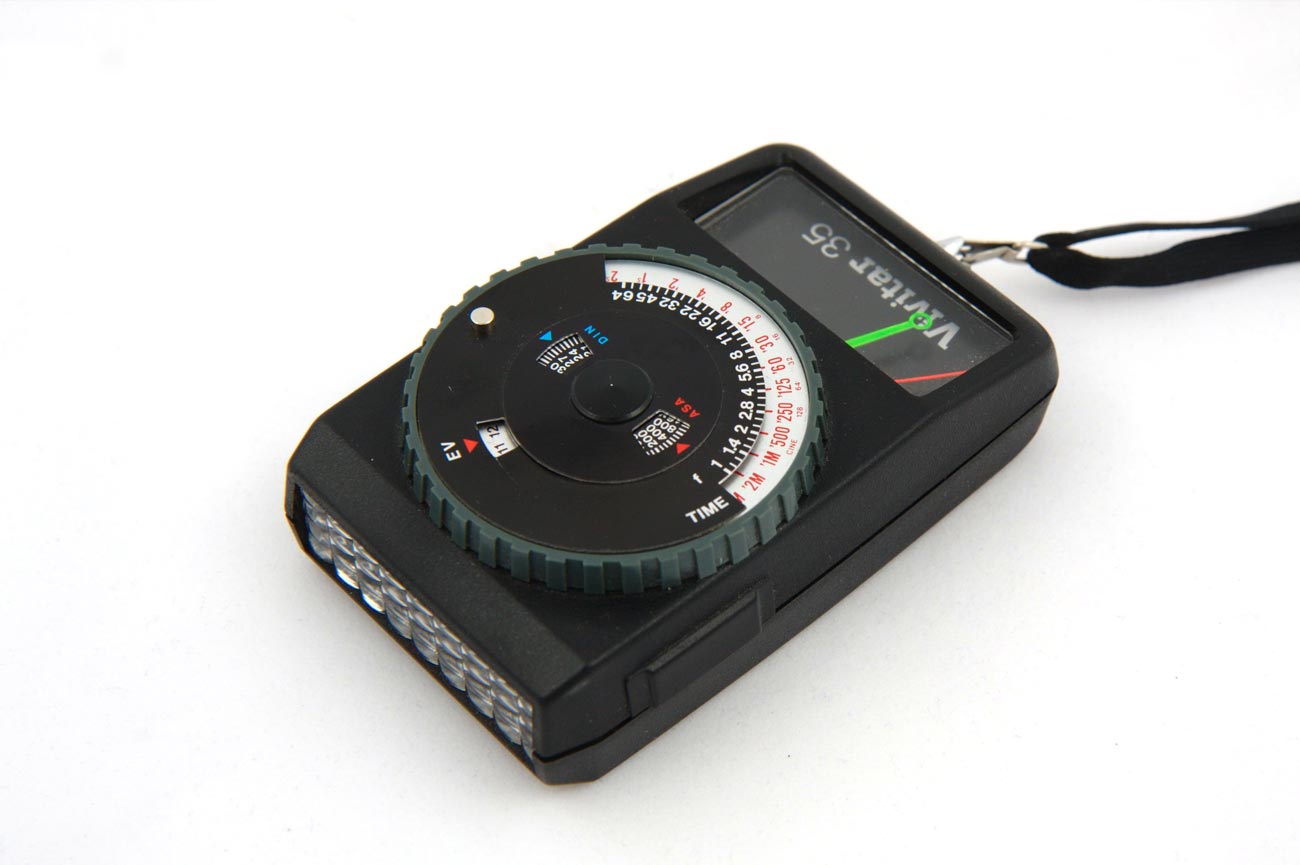
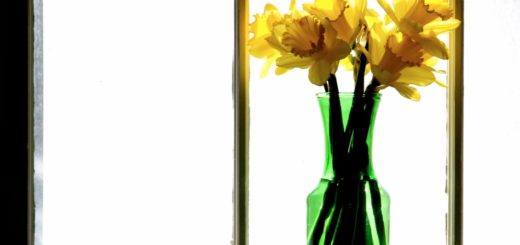
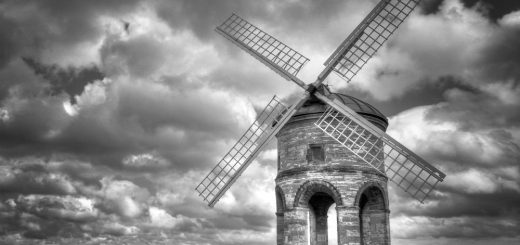
Photo by Steve Rainwater. Licensed under CC BY-SA 2.0
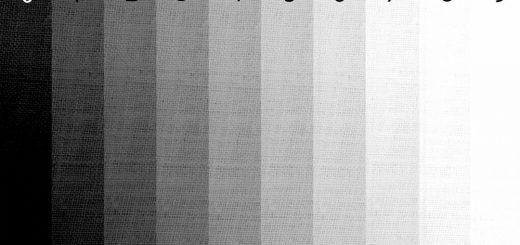
While light meters can be a great tool for assessing exposure readings, it should also be known that light meters are flawed. Reflected light meters are calibrated to ensure an exposure is made that will make the subject a mid-tone. In other words, the response to low-light situations or bright lighting conditions will likely not match the light meter reading. And for subjects that contain harsh lighting and low lighting, the meter will attempt to average the amount of light to one mid-tone and result in poorly exposed photographs that you can’t do much with in the darkroom.
To handle these situations, you have to compensate your exposure accordingly. In bright areas such as sand or snow, you meter will consider the bright light to be mid-tone, resulting in a photograph that is much darker than the actual scene. The photographer needs to compensate for this by manually changing the exposure settings and overexposing the image to make it brighter. The same applies to dimly lit subjects, except this time the photographer must underexpose the image to darken it.
Compensating for Light Meters
There are a few ways a photographer can compensate for the light meter reading. Here are the most common ways:
1. Meter a mid-tone object in the same light as your subject and set your camera accordingly. If possible, carry a gray card that will always allow for a proper mid-tone object to be measured. After this reading, your camera will properly expose the lighter or darker subject properly.
2. Meter the scene with your light meter and manually adjust your settings. Overexpose lighter scenes and underexpose darker scenes by one or two f-stops. For a light object, change your aperture to the next larger size or change the shutter speed to the next slower speed. For a dark object, change your aperture to the next smaller size or change the shutter speed to the next faster speed. Only do one or the other of these previous actions as changing both will result in a similar poor exposure.
3. Use the Sunny 16 method. For general lighting conditions, the Sunny 16 exposure method says that for sunny days you simply need to set your aperture to f/16 and your shutter speed to the ISO film speed. Read more about this exposure method in the Sunny 16 page.
4. Use thezone system. In basic terms, the zone system states that you should expose your shot for shadows. Then when printing the image in the darkroom, you print for the highlights. Read more about this exposure method in the zone system page.
5. Change the ISO film setting to something different than what it is the camera. If you are using ISO 100 film and the scene is lighter, change the meter or camera settings to 50 ISO film. If the scene is darker, change the setting to 200 ISO film. This process should only be used for cameras using automatic exposure modes. You also need to be extra careful that you return your camera or meter settings to the proper ISO or you may end up ruining the remainder of your film.