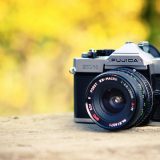
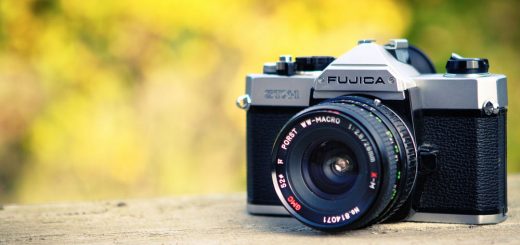
Processing your Photography Film
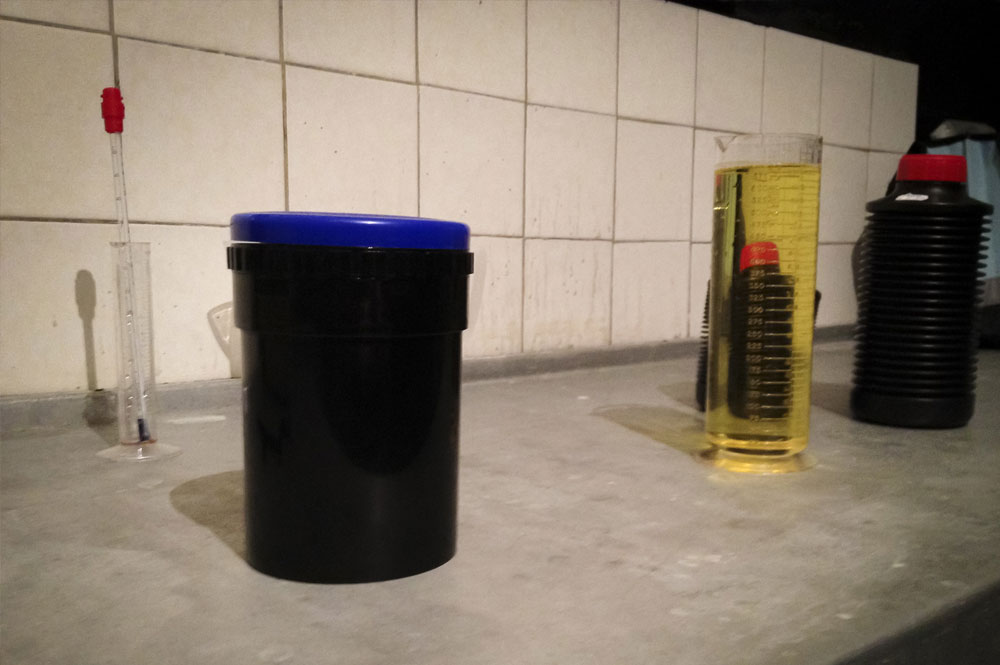
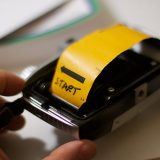
Photo by Nigel Wade. Licensed under CC BY 2.0
Photography Guide to Development and Processing of Photo Film
Developing and processing your photography film is a fairly simple process, with similar techniques for both color film and black and white film. Both films will use different developing chemicals, but the process is the same. If you begin processing your own film, remember these basic photography tips:
- Film is light sensitive and must never be exposed to light, except during exposure, or it will be ruined.
- Film should be handled by the edge to avoid finger prints or scratches to the surface. Alternatively, cotton gloves may be used to handle film.
You will also need the following equipment:
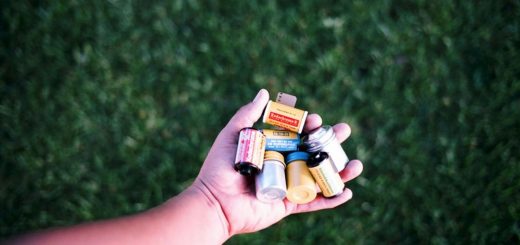
- Can opener. Your 35mm film will be in a small canister that will need to be opened with a can opener in complete darkness.
- Scissors. The beginning and end of your photo film will need to be cut.
- Film reels. These reels can be purchased in either plastic or metal and are used to essentially wrap your film around for development. Proper loading on the film reel will ensure that the film does not touch and your photography film is properly developed.
- Film tanks. After loading your film onto a reel it is loaded into a light tight film tank for the chemicals to process.
- Developing chemicals. Please read on further for the proper developing chemicals for black and white or color photography.
Photography Techniques for Development
The following film photography development steps will need to be done in complete darkness with no available light, not even a red safe light.
In complete darkness, use the can opener to open the top of the 35mm film canister and pull out the film. Carefully handle the photo film by its edges as to not damage the film surface. With your scissors you will need to cut off the film leader at the beginning of the roll to flatten the edge. At the end of the roll the film will be attached to the spool and will need to be cut. The film will then need to be loaded onto your metal or plastic reel. Once successfully on the reel, you can put the loaded reel into the developing tank and make sure it is tightly closed. Once closed and light tight, you will be able to turn some lights on to finish the development process.
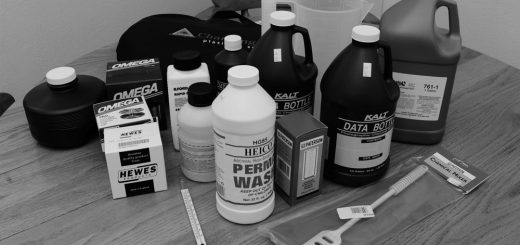
Development Chemicals for Film Photography
While black and white and color films use different chemicals, which will vary from different manufacturers, the process remains the same: developer, stop bath, fixer, and water bath. All chemicals will have a designated mixture of chemical and water – typically 1:9 or similar. Development time will also depend on the temperature of the mixture. Black and white film is best processed at 68° F and color at 100° F. The chemicals will be added to the development tank and agitated for 30 seconds and then for 5 seconds every minute until the development time is finished. All other chemicals follow a similar process, with the stop bath around 2 minutes and fixer around 5 minutes. After the fixer is processed your film will no longer be sensitive to light and can be removed. Before your film is finished, it will need to be placed in running water for about 10 minutes to ensure all chemicals are removed. The film should then be hung to dry in a dust free area with clothes pins to keep it straight during the drying time.
For more information about development chemicals and times, see the black and white processing, C-41 color processing, and E-6 slide film processing for more.