Photography Tips – Night Photography
Night Photography Guide
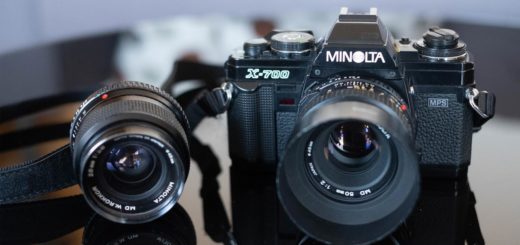
Night photography, as the name suggests, is taken between dusk and dawn with very low light situations. As such, night photography tips and techniques are essential to achieve the correct exposure. Your film camera will require the following equipment for proper photography at night: a tripod, shutter release timer or shutter release cable, and possibly the B (bulb) shutter speed setting for longer exposures. The tripod will hold the camera firmly in place so that it does not move during exposure and cause unwanted blurring effects. A shutter release timer or cable will allow the shutter to open and close without the need to push the shutter release button, which will eliminate any minor shake from the pressure of pushing the shutter release. A shutter release cable is simply an extension cord that connects to you camera. The cable releases a small pin that triggers the shutter release without much pressure needed.
Metering Light for Film Photography at Night
The through-the-lens metering of a 35mm film camera may often not be able to correctly give you exposure times for night photography. However, if you happen to have a 35mm camera with an auto setting you will have a good starting point. The auto setting will allow you to have aperture priority where you simply set the aperture and the camera automatically sets the shutter speed. While this is certainly not the best way to go about night photography it will give you a good start to understanding how long exposures are. For accurate light metering you will need a hand held meter. Most meters will be able to show the correct aperture setting for long exposures that cannot be read through your camera. Long exposures will often require the use of the B shutter speed setting to allow the lens to remain open for long periods of time.
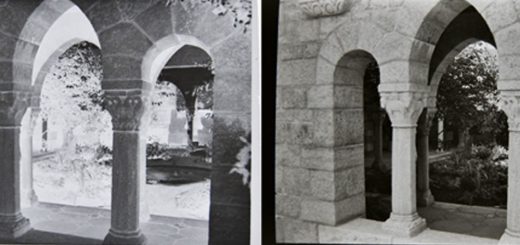
Without a light meter, you will need to bracket your exposures. Bracketing refers to changing your aperture so that one photograph is slightly underexposed according to your camera’s light meter and one photograph is slightly overexposed. The end result is three different photographs with a slightly darker and lighter tone. Of course, you are free to underexpose or overexpose any amount of photographs until you figure out the best exposure for your image.