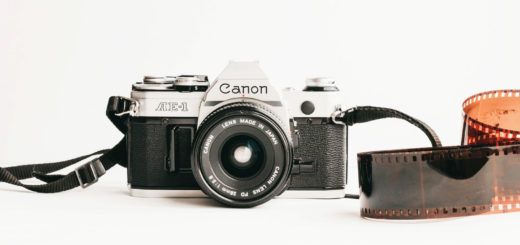
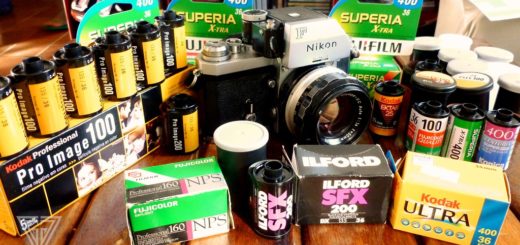
Scanning a Film Negative

Photo by aaron_anderer. CC BY-ND 2.0
Due to the large variety of scanning systems and software available, this article will not go into detail about how to actually use specific equipment to scan. Instead it will provide a general overview of good scanning practices. For specific questions about your software or equipment please see the manual that came with it or visit the manufacturer’s website.
Scanning film is a lot like printing film in the darkroom in the sense that there are some simple procedures that should always be followed in order to obtain a good scan.
- If scanning a 35mm negative, scan using at least 2400 DPI (dots-per-inch). This will provide you with a resolution of about 3400 x 2200 pixels. At 300 DPI (the typical print resolution), this translates to a print size close to 8×10 inches. A higher resolution will provide a larger print size. Also, always scan at the highest bit depth possible (48-bit for color and 16-bit for black and white). Storage space is so inexpensive now that larger file sizes should not be an issue.
- Film should be handled by the edges as much as possible to avoid scratching the film or leaving prints. You could also wear cotton gloves when handling the film.
- The negative should be as clean as possible prior to scanning. While you can clean up images digitally it will make dramatically less work to start with a cleaner scan. At the very least, use a can of air to remove dust that may have settled on the film.
- Make sure the scanner itself is free of debris or smudges, particularly if using a flatbed scanner.
- Scanning software will generally provide some automatic features to fix contrast, levels, sharpness and more to provide an image that is ready to use after scanning. These automatic features may suit some fine, but if you want full control over the final look of your image then you should turn these features off and use the photo editing program of your choice to make these edits. You can use the image scanning software to manually adjust the histogram of the image for a cleaner scan that will require less digital manipulation.
- Save scanned images as TIFF files to preserve the best quality, or PSD files if you scan the image directly into Photoshop and plan to work with it. Copies of the photograph can always later be saved to something more common like JPG as necessary.
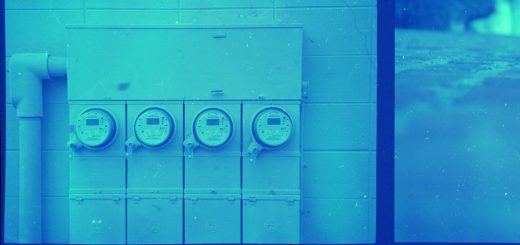
Visit sample scan using Epson scan software to see an example of how to scan your image.