Quick Guide to Black and White Photography Part 4 – Film Exposure
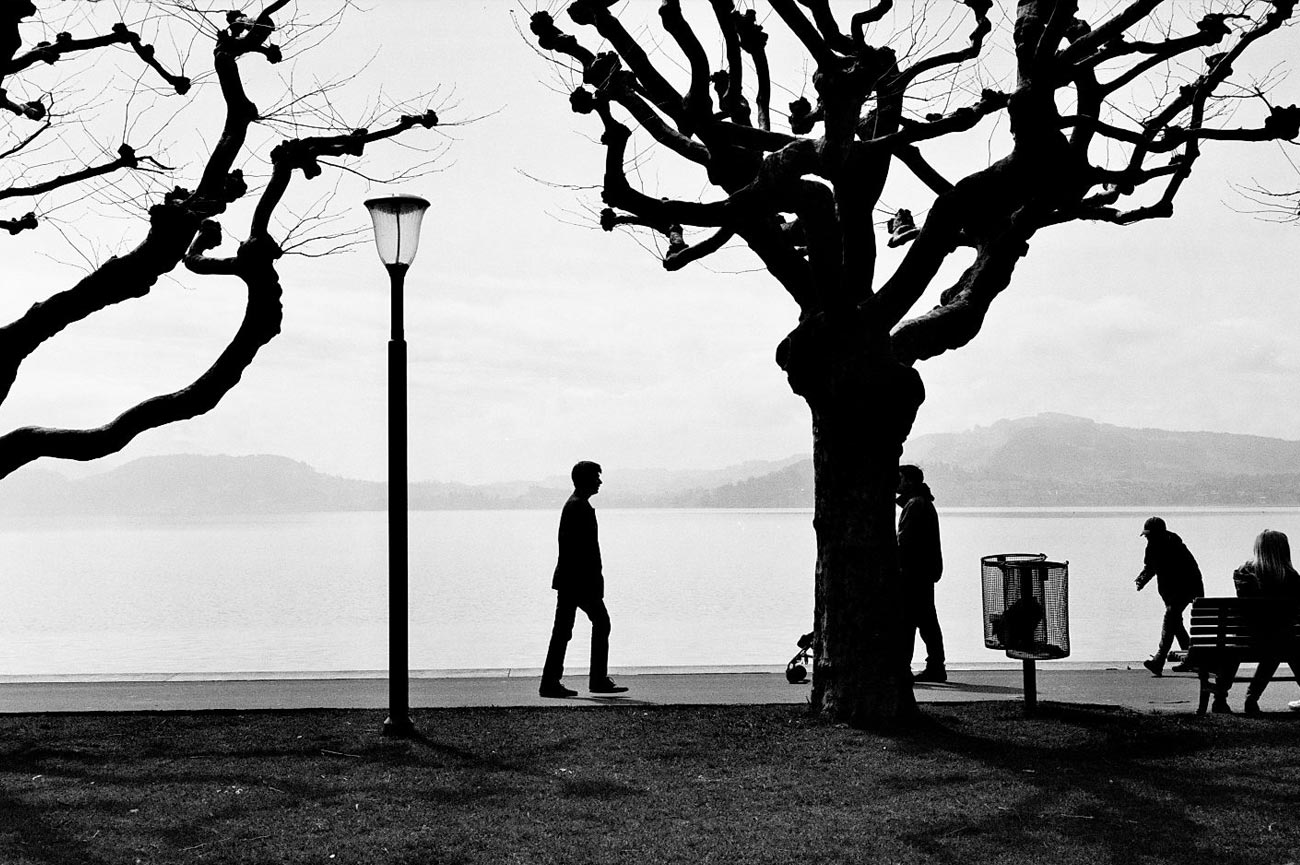
Photo by Ric Capucho. Licensed under CC BY 2.0
Exposing Black and White Film
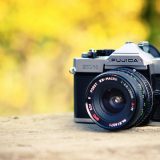
For black and white photography with a 35mm SLR camera it’s not as simple as pointing and shooting to take photos. Instead you’ll need to read your light and select the appropriate shutter speed and aperture setting to create a nice exposure for the scene.
In order to obtain an acceptable exposure the shutter speed and aperture need to work together; the shutter speed needs to stay open to allow the right amount of light to hit the film and the aperture needs to be opened/closed enough to allow the right amount of light through. To determine the correct setting for the shutter speed and aperture you will use a light meter that can be seen through the viewfinder of the 35mm SLR camera. This light meter is known as a through-the-lens meter. You essentially select the aperture (or shutter speed) you’d like to use and then the meter will help you select the appropriate shutter speed (or aperture) to match. Through-the-lens light meters are typically found in 1 of 4 variations:
- A range of shutter speeds with LEDs indicating shutter speed and aperture. Match up the two lights for a solid exposure.
- A similar version of the previous but with a moving needles instead of LEDs.
- A circle surrounded by a plus sign or minus sign. Plus indicates over exposure and minus under exposure. Light up the circle sign for the proper exposure.
- A similar, but expanded, version of the previous with a larger scale from plus to minus.
How a Light Meter Works
In the case of a through-the-lens light meter the light meter works by measuring all light coming through the lens and creating a middle gray exposure. This type of meter is known as a reflected light meter. It is important to know in some cases that this middle gray exposure may not provide the correct exposure for black and white photography. For instance, in a bright scene (such as the beach or a winter landscape) the light meter will take a bright scene and turn it into a middle gray thereby darkening the overall image. To compensate for this you simply overexpose your film by setting the aperture and shutter speed according to the light meter and then opening the aperture 1 or 2 f-stops.
Alternatively, you can purchase what is known as a gray card. These cards are designed specifically as a mid gray for your light meter. To use a gray card follow these steps:
- Place the gray card in your shot. If taking a portrait have your subject hold the gray card for you.
- View the card through your camera’s viewfinder and fill the viewfinder with the card. You may move as close as possible to do this but make sure you do not block your light source.
- Meter the gray card and set your aperture and shutter speed as necessary.
- Return to the area you want to take the photo from and take it.
What If I Don’t Have a Light Meter?
If your camera does not have a light meter, or if it is not working, you have a few options. Perhaps the easiest solution is to simply purchase a handheld light meter. You can also follow what is known as the Sunny 16 rule. This rule states that on a sunny day you simply set your aperture to f/16 and your shutter speed to the speed of your film (ISO) or next shutter speed over. So if you have ISO 100 film you would set your shutter speed to 125. The Sunny 16 rule can still be used if it is not a sunny day, please refer to the below cart as an example:
|
|
Sunny |
Hazy Sun |
Cloudy |
Overcast |
|
F-Stop |
f / 16 |
f / 11 |
f / 8 |
f / 5.6 |
|
ISO 100 |
1/125 |
1/125 |
1/125 |
1/125 |
|
ISO 200 |
1/250 |
1/250 |
1/250 |
1/250 |
|
ISO 400 |
1/500 |
1/500 |
1/500 |
1/500 |
|
ISO 800 |
1/1000 |
1/1000 |
1/1000 |
1/1000 |
Some modern cameras have automatic exposure settings known as shutter speed priority and aperture priority. With shutter speed priority you can select the shutter speed you would like to use and it will automatically select the appropriate aperture. With aperture priority you select the aperture and the camera automatically selects the shutter speed. In tricky lighting conditions, such as the previously mentioned beach or winter photography, these automatic settings should not be used as you will need to overexpose or underexpose which can only be done through manual settings.
With this basic understanding of exposure you can shoot your first roll of film. When complete you’ll begin the process of developing the film and printing your black and white photography.