Quick Guide to Black and White Photography Part 7 – Darkroom Introduction
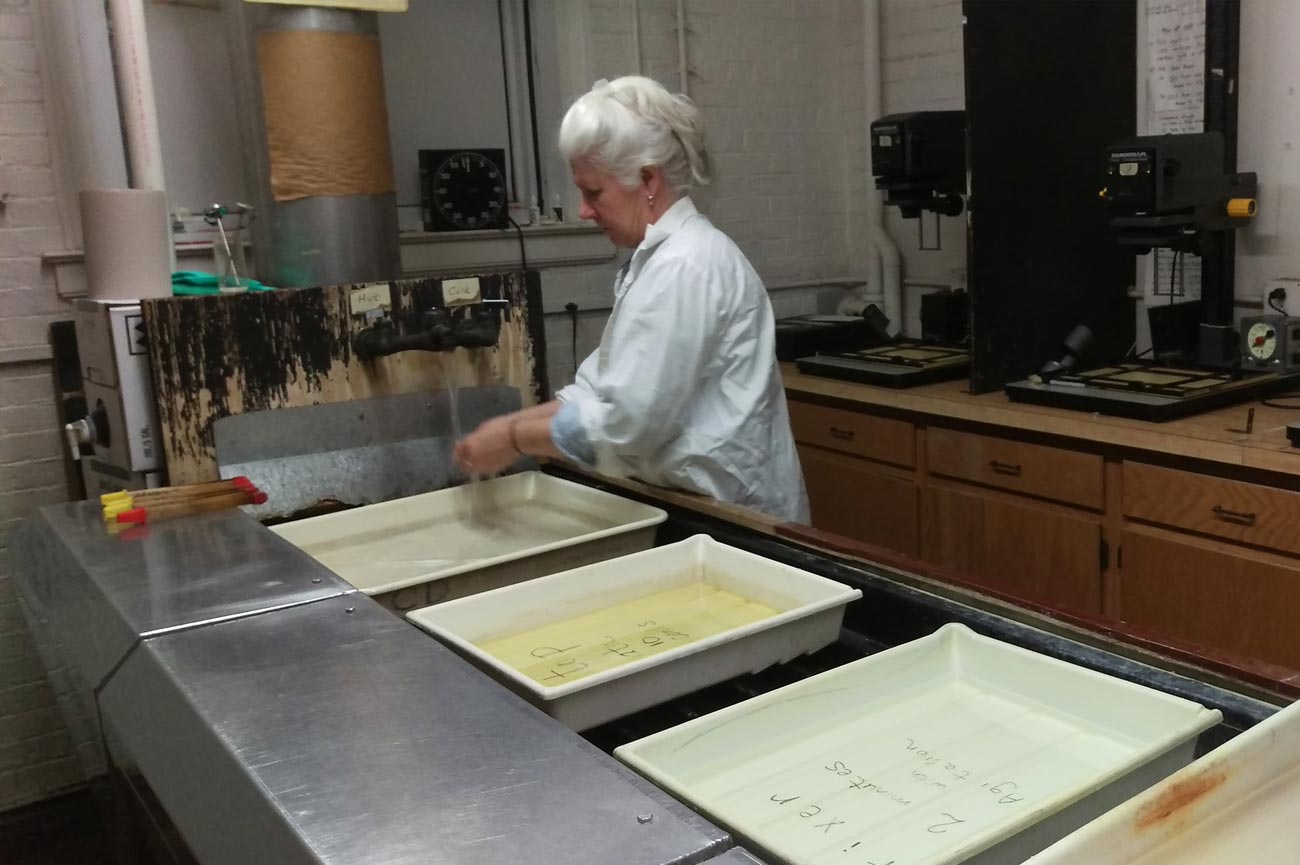
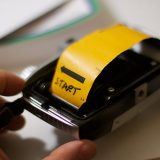
Photo by agirlnamednee. Licensed under CC BY 2.0
Intro to the Darkroom
Aside from taking the photos, printing in the darkroom is perhaps the most fun and exciting aspect of black and white photography and is the culmination of all your hard work. At the same time, printing in the darkroom can become one of the most tedious aspects to get the black and white photograph printed perfectly.
In a typical darkroom there should be two designated areas: a dry area and a wet area. These are fairly self explanatory, but the dry area is where you work with the enlarger, photographic paper, and film while the wet area is where you work with all the liquid chemicals and washing.
Dry Area
The Enlarger
The black and white photography enlarger is designed to hold your film negative and shine light through it onto photographic paper to expose the paper and create the positive image. There are many enlargers available – some only print 35mm film while others can print 35mm, medium format and large format film. If purchasing an enlarger you should purchase one that will handle all negative sizes you plan to work with. Enlargers last a very long time and rarely break so there’s not much reason to purchase one and then plan to purchase another in a few years. The enlarger should be a variable contrast enlarger designed for black and white film.
Enlargers are a lot like cameras in that they have lenses that can be interchanged. When printing 35mm film in the enlarger you want to use a 50mm lens. You can use a larger lens but it will result in the image showing smaller than if you use a 50mm. Also, if you try using a 50mm lens for larger size film you will notice that the lens vignettes the image. These lenses will also have aperture settings, just like a camera lens, to allow more or less light to hit the paper.
You can manually turn the light on the enlarger on and off but when printing it is highly recommended to purchase a timer that connects with the enlarger and automatically turns it on and off for the duration of your set time. This will help you control your exposure time with precision rather than manually counting the time or relying on an independent timer.
Black and White Photography Paper
Photographic paper works somewhat similarly to film. This specialized paper is coated with light sensitive chemicals that are exposed to light in a controlled manner using the enlarger. Due to the lower sensitivities of photographic paper the darkroom is allowed to have a safelight that will not risk exposing the paper, granting you some light to work with. However, when the enlarger light is turned on you should make sure your paper is safely hidden to avoid accidental exposure. Black and white photography paper is available in multiple types made by multiple brands. Furthermore, these papers are available in various finishes, or shines, such as glossy, semi-gloss, satin, and matte. Experiment with a few different finishes to find the one you like best. For your first venture into the darkroom you should use a variable-contrast (VC) resin-coated (RC) paper. RC paper is generally easier to print with but has a very plastic feel to it. Eventually you could also work with fiber-based papers that provide a little more depth and a richer image but take nearly twice as long to develop and wash than RC paper, which is why RC paper is recommended to work with at first to get used to the process.
Variable Contrast Filters
Beneath the lens of the enlarger should be a little holder for variable contrast filters. These filters work with VC paper by changing the color of the light that hits the paper and providing a full range of contrast. A #1 filter provides lower contrast for your image while a #5 filter provides higher contrast.
Easel
This easel is designed to hold a piece of photographic paper in place while the enlarger exposes the paper. This is important to ensure that your paper does not move or bend while being exposed as you would end up with a blurry print. Many easels are designed to provide you with the ability to crop and size your photo as desired while others fit set sizes. You should purchase an easel that accommodates at least an 11″x14″ piece of photo paper so that you have the option of printing larger.
Wet Area – Chemicals and Wash
Much like film development there are many types of print developers, but they involve a similar process as film development: developer, stop bath, fixer, water rinse, dry. The key difference is that print developers are stronger and faster and can practically be used until there is none left. The chemicals will need to be diluted with water as per instructions from the manufacturer. In preparation for printing you can lay out 3 trays larger than the paper you plan on using and fill each tray with the properly mixed chemicals. A fourth tray can be used for washing with running water. Each tray should be accompanied by tongs so that you don’t have to touch the chemicals. The tongs should have rubber tips on the end so that you don’t scratch the photographic paper. As much as possible you should only handle the paper by the edges during the development process as this is when the paper will be most susceptible to scratching.
Now that you have a basic overview of the darkroom and the tools you’ll use we can jump into printing in the darkroom.