Quick Guide to Black and White Photography Part 2 – Camera Preparation
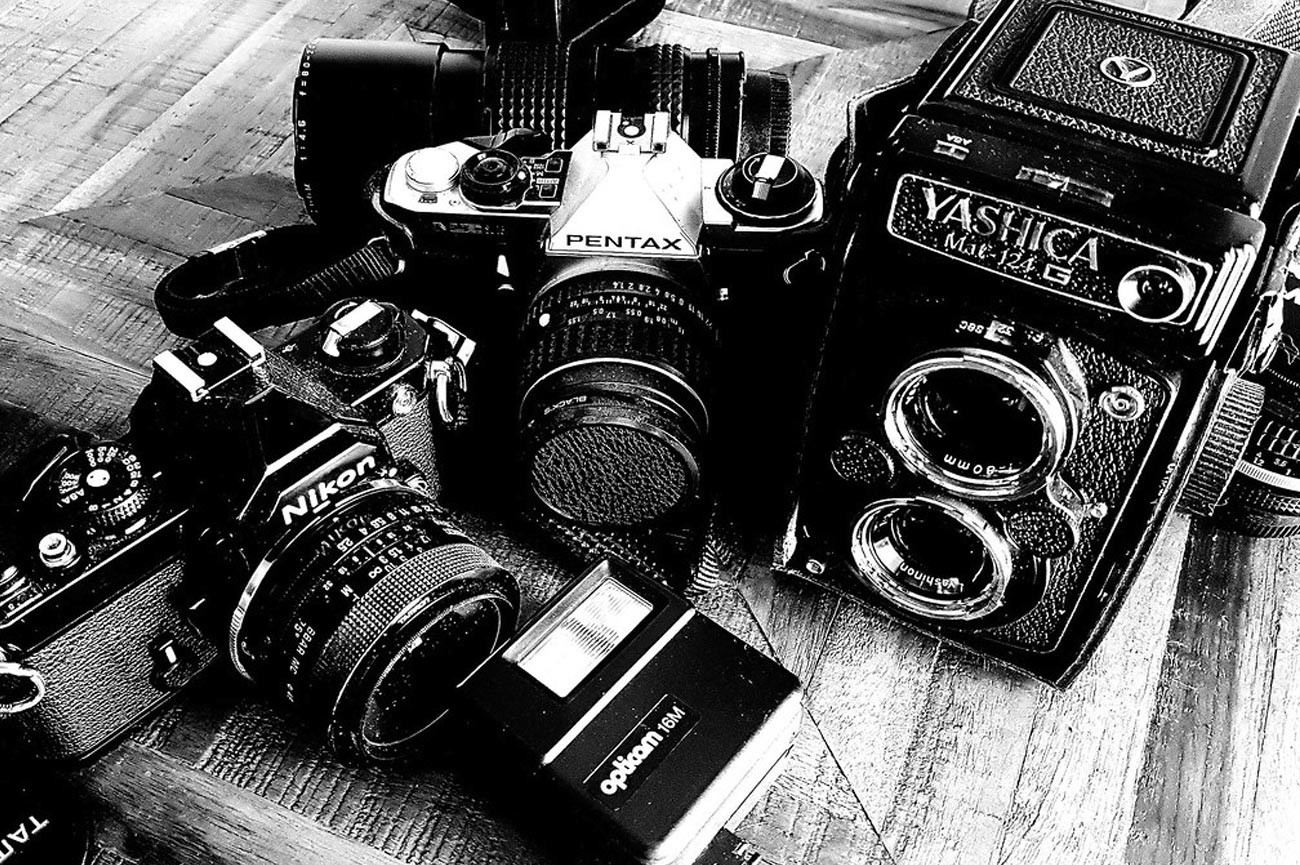
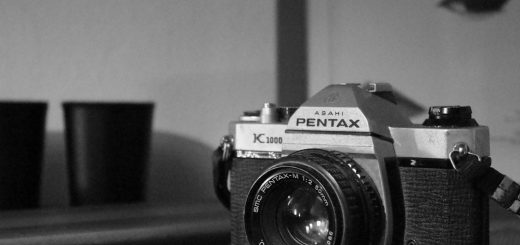
Photo by Jason Thibault. Licensed under CC BY 2.0
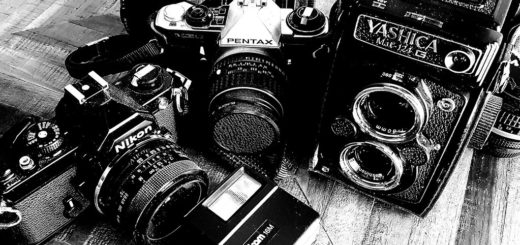
Preparing your 35mm Camera for Use
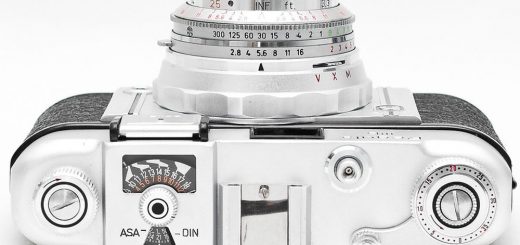
Before you run out and start your black and white photography adventure you need to prepare your camera for use. One of the first things you should do on your camera is match the film speed dial of the camera to the film speed of the black and white film you selected. The location of the film speed dial varies for different camera models but will always be on the top side of the camera. In order to change the dial you may need to press a button close to the dial – this button is designed to lock the film speed so that it doesn’t accidentally move while photographing. If using a film speed that is not specifically listed on the dial (like ISO 125) then simply place turn the dial so that it is approximately on the speed. The purpose of setting your film speed is to help “calibrate” the light meter inside the SLR camera – a faster film needs less light while a slower film needs more light and the film speed dial will tell your camera this.
Note: If you accidentally shoot a roll of ISO 100 film and the camera was set to ISO 400 film it can still be developed through a process known as push processing. (Pull processing would be the opposite, shooting ISO 400 film when the camera was set to ISO 100). When processing the film you will develop it as the speed your camera was set to and not the actual speed of the film. It is also very important to note that you cannot change the ISO speed halfway through a roll of film or else you will likely over/under develop half the roll. So if you notice you forgot to change the film dial halfway through shooting then leave it as is and make a note to develop the roll of film according to the film speed the camera was set to.
Loading Film into the Camera
Loading film into the camera is a fairly simple process but if done incorrectly can result in the film not advancing properly inside the camera, potentially leaving the film unexposed. Below is a list of steps to load film, or if you’d prefer we also have a video tutorial below that.
- Open the back of your SLR camera. This is typically done by lifting the film rewind lever on the top left of the camera. Pull gently and the back of the camera will pop open.
- Insert the film cassette into the left side of the camera back. Once inserted, push the film rewind dial down to lock the film canister into place.
- Pull a small amount of film from the cassette across the camera back of the camera.
- On the right hand side you will see a spindle with sprockets on the top and bottom to hold the notches of the film. Insert the film leader (L-shaped tip) into the slot on the spindle and line up the film notches with the spindle sprockets.
- While holding the film in place advance the film using the film advance lever, usually located on the top right of the camera. If the lever does not move press down the shutter release, which is either on top of the advance lever or next to it.
- When the film is securely locked onto the spindle close the back of the camera.
- With the camera back closed press the shutter release and continue to advance the film until a little readout near the advance lever reads “1.”
- Double check that your film speed is set correctly.
- Begin your black and white photography.
After the camera is loaded you are ready to begin photographing. Read the next topic, using the film camera, to learn about using your aperture and shutter speed to expose the film.