Split Filter Printing
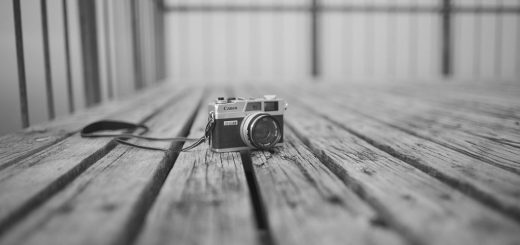
Photo by Oscar Paradela. Licensed under CC BY 2.0
When printing black and white prints in the darkroom, you essentially have two controls at your disposal: brightness and contrast. Brightness is controlled by the aperture and density of the film and contrast is controlled with filters (numbered 0-5) and the photographic paper (graded or variable-contrast). That said, it may be difficult to achieve the best combination of highlights and shadows. When printing with variable-contrast (VC) photo paper, there is a process called split filter printing that allows you to have more control of the highlights and shadows using a combination of filters for a single print. In essence, you use the extreme filters of #0 and #5 to isolate the lower and higher values of the paper.
Steps to Split Filter Printing
1. Identify your highlights. Create a test-strip using the #0 filter in the enlarger. The #0 filter will provide the lowest contrast. Make a note of your test-strip for the section that begins to show detail and keep your exposure time.
2. Identify the best blacks. Place another strip of photographic paper to make a second test-strip. Expose the paper using the #0 filter for the amount of time determined in the first step. Without moving the enlarger or paper, remove the #0 filter and place the #5 filter in the enlarger. The #5 filter will provide the highest contrast. Create a test-strip using the #5 filter as you did in the first step. Once developed, determine the best exposure time to reach maximum black.
3. Use both filters to print the final image. Now print the entire negative with a full sheet of photographic paper. Expose the paper using the #0 filter for the amount of time discovered in the first step, then expose the paper using the #5 filter for the amount of time discovered in the second step without moving the enlarger or photographic paper.
Make Adjustments to the Exposure
While split filter printing using the above steps will typically give you a nicely exposed image, you may want to consider making adjustments depending on how detailed you want to be with the exposure. Here are a few adjustments you can do to fine tune the exposure and help make the image even better:
1. Using dodging and burning. Burn light areas during the #0 filter exposure and burn shadows during the #5 filter exposure.
2. If the print needs more contrast, lower the exposure time for the #0 filter. If the print needs less contrast, lower the exposure time for the #5 filter.
3. If the contrast is fine but the print is too dark, reduce the exposure time equally for both filters. If too light, increase the exposure time equally for both filters.