How to Sepia Tone a Photograph
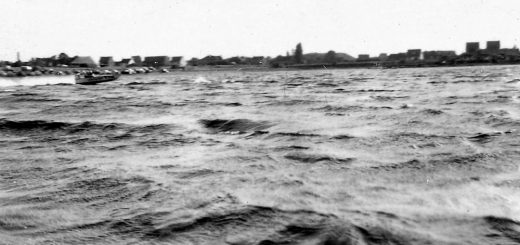
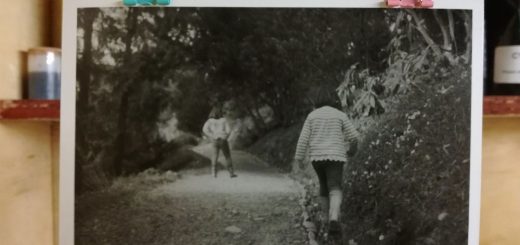
Photo by Daniel X. O’Neil. CC BY 2.0
Sepia toning a black and white print will add a very classic, timeless look to any black and white silver print and essentially turns a grayscale photo into a brownscale photo. This simple process bleaches the photographic paper to remove the silver in the emulsion and then replaces it with a toned silver compound. Note that while sepia toning is probably the most recognizable and popular tone, various colors are available and all use a similar process. Best of all, the sepia tone process does not require a darkroom. In fact, the process can be done in nearly any room of a house – though the room should of course be well ventilated.
There are various sepia toners available. Some toners are designed for specific types of paper and finishes. There are also no set times regarding how long the print should sit in the sepia toner, just know that the longer the print is in the toner then the deeper the tones will be. It is recommended that you have multiple prints of your photograph available so that you can see the effects of the toner with different duration or retry the process if the desired tone was not achieved the first time and have a comparison. As always, refer to the manufacturer’s recommendations when using the toner.
Here are 8 easy steps to sepia toning your black and white prints:
1. Set out 3 plastic trays that are larger than the prints you intend to tone. One tray will be used to rinse the print, one will be for the bleach mix (refer to the manufacturer for dilution) and the last will be for the toner (refer to the manufacturer for dilution).
2. If the print you are using is dry, rinse it under running water for 2-3 minutes. If working in the darkroom, you can take the print directly from final wash and skip this step, but the print should be fully washed before toned.
3. Place the print in the bleach tray. The image on the print will slowly begin to disappear. When most of the image disappears it can be removed from the bleach tray. Typically the print will be in the bleach tray for 1-2 minutes.
4. Remove the print from the bleach and rinse it in water for about 3 minutes to stop the bleach.
5. Place the print in the sepia tray. You will see the image return. The print can be removed from the toner when it appears to be toned to the desired effect.
6. Remove the print from the toner and rinse it under running water for one minute to remove any excess toner.
7. Wash the print in water for 20-30 minutes. The toned print can be washed with other prints in the darkroom.
8. Dry the print on a drying rack. Do not use heat dryers as they can cause defects in the toner.