9 Simple Steps to Fixing Color and Tone Using Photoshop Curves
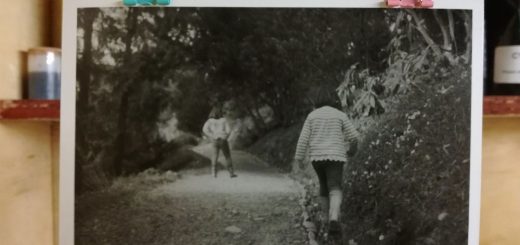
Photo by Anand Chitravelu. CC BY 2.0
Curves is a very powerful tool that is often over looked by beginners of Photoshop because it seems to be a bit more intimidating compared to Levels. However, Curves is an invaluable tool that can be the all in one fix (fixing both color and tone) for your scanned film photography in just a few simple steps.
- With your image open, either create a new Threshold layer or go to the Image menu > Adjustments > Threshold.
- In the Threshold adjustment, move the slider to the left until the image is completely white except for a few small traces of black. If you mouse over the image you should see the eye dropper tool. Hold shift and click the eye dropper in the black to make a point. It is advisable to zoom in as much as possible to be certain you correctly select a point on the black.
- Now that you’ve made the dark point, slide the Threshold adjustment to the right until the image is completely black except for a few small traces of white. Again, hold shift and click with the eye dropper to create another point.
- You should now have two points on your image. One point is the darkest area of the image and the other is the lightest area. Cancel your Threshold adjustment.
- Now create a new Curves layer or go to the Image menu > Adjustments > Curves.
- The curves dialogue box will have three eye droppers in it – black, gray, and white. Optional:Double-click the black eye dropper to bring up the color picker. Change the values of R, G, and B to 20. Click OK. Double-click the white eye dropper to bring up the color picker again and change the values of R, G, and B to 244. Click OK. The purpose of changing these values is to preserve shadows and highlights of the image if you eventually plan to print the photograph as printers cannot print the same range of blacks and whites that the monitor can display.
- Select the black eye dropper in the Curves dialogue box. Hit the Caps Lock button and your mouse will change from an eye dropper icon to a more precise target icon. Click on the black point that was made in step 2.
- Follow the same steps with the white eye dropper, clicking the white point made from step 3.
- Adjust the curve of Curves to add contrast or brighten/darken the image. Typically, grabbing the curve line at the center and pulling it up to increase the overall brightness will do the trick. Click OK in the Curves dialogue box. Now you’re done, it’s as simple as that! Optional: If you followed the optional step, a notification will pop-up after clicking OK asking if you’d like save the new target colors you entered. Clicking OK will save those values and allow you to skip that step in the future.
If the image still looks like it may need further color adjustment you can opt to find the gray point of the image. This is a more difficult step as not every image will contain an easily indentifiable gray point to use. If you need help finding the gray point you can follow these steps:
- Create a new layer and fill it with 50% Gray.
- Change the blend mode of the gray layer to Difference.
- Use the Threshold adjustment and drag the slider to the left until the image is completely white except for some small traces of black. Hold shift and click on the black area to create a point.
- Return to the Curves adjustment layer, select the gray eye dropper, and then select the gray point on the image.
- Hide/delete the gray fill layer.