8 Simple Steps to Adjust Black and White Tones and Contrast using Levels in Photoshop
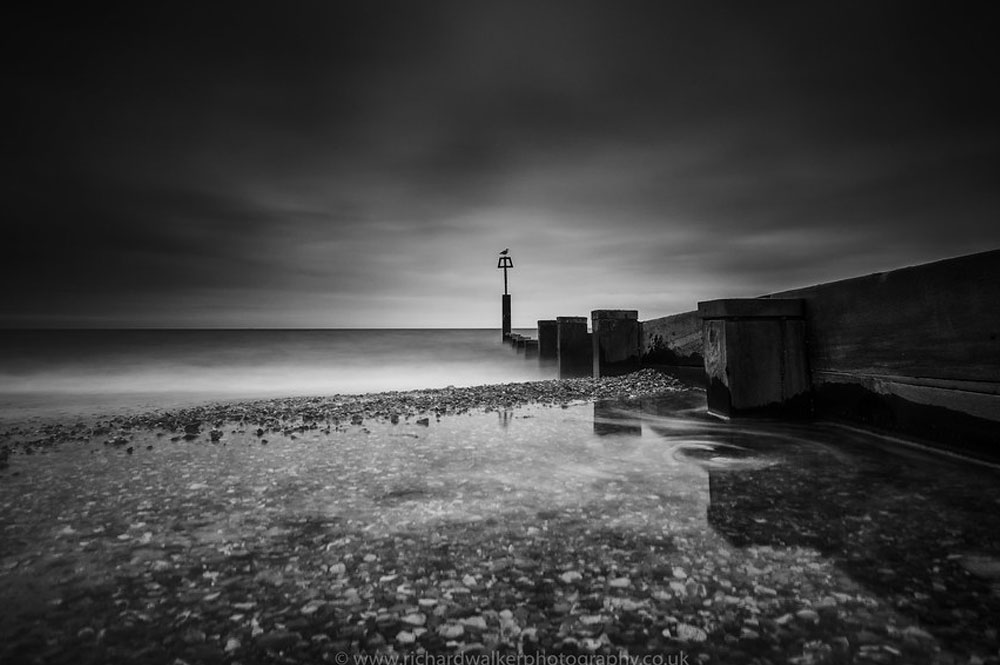
Photo by Richard Walker. CC BY 2.0
When editing black and white photographs in Photoshop there are many ways to correct tone and contrast, but the simplest option is Levels. Levels can either be done by looking in the menu for Image > Adjustments > Levels or by adding a new Levels layer in the layers panel. This will bring up the histogram, which contains 3 sliders for the shadows, midtones, and highlights (from left to right). Most black and white photos can be fixed by eyeing the image while moving the 3 sliders to match the histogram. But for a more comprehensive, exact method of correction follow these simple steps.
1. With your black and white photograph opened in Photoshop, either create a new Threshold layer or go to the menu and select Image > Adjustments > Threshold.
2. With the Threshold adjustment showing, move the slider to the left until only a few traces of black remain. Point your mouse over the image and you will notice the mouse icons changes to an eye dropper tool. Zoom in to one of the black spots and then hold shift and click the eye dropper in the black to make a point.
3. Now slide the Threshold adjustment to the right until only a few traces of white remain. Again, zoom in on the white area and hold shift and click with the dropper to create another point.
4. You will now have two points on your image. The first point shows the darkest area of the image and the second point shows the lightest area. Now hide your Threshold adjustment layer or cancel it the adjustment window.
5. Create a new Levels layer or edit Levels from the menu using Image > Adjustments > Levels (Ctrl + L on Windows or Command + L on Mac).
6. The Levels dialogue box will show your histogram with the three sliders (shadows, midtones, highlights). It will also have 3 droppers for black, gray, and white. Select the black eye dropper and hit the Caps Lock button, which will change your mouse from an eye dropper to a target icon. Click on the black point that you created in step 2.
7. Select the white eye dropper in the Levels dialogue box and click on the white point that was made in step 3.
8. Adjust the middle slider (midpoint tone) to darken or lighten the grays of the image, if necessary.