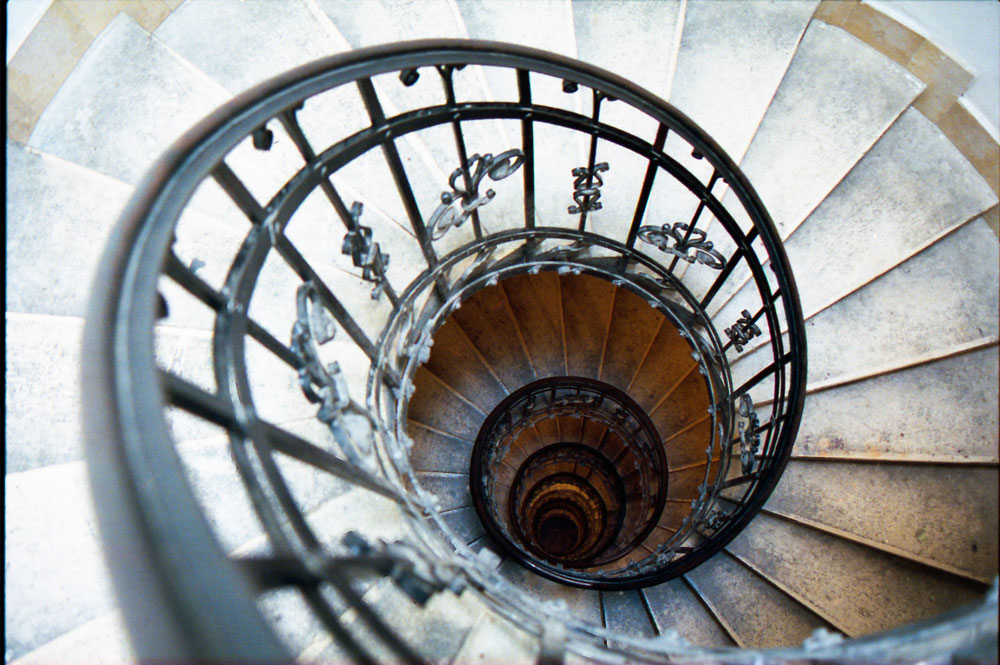
Sample Scan using Epson Scan

Photo by Robert Sarkozi. CC BY 2.0
If you anticipate purchasing a flatbed scanner then chances are you’ll probably end up with an Epson as they are generally highly rated, reviewed and available at most stores. With every Epson scanner you will receive the Epson Scan software.
Epson Scan is a stand alone program. However, if you plan to work in Adobe Photoshop immediately after scanning you can use the Import feature to scan the image directly into Photoshop.
- The first thing you want to do after starting the Epson Scan software is to make sure you are using “Professional Mode.” You can change this from the dropdown box in the upper right corner of the software. If starting the program for the first time you will likely start in “Full Auto Mode” but after changing the “Professional Mode” the program should stay on that setting in the future.
- Set Document Type to Film. Then there will be an option to select the Film Type from the options of Positive Film (like slides), Color Negative Film, or Black and White Negative Film.
- For Image Type, if scanning color select 48-bit and if Grayscale then select 16-bit Grayscale. If you do not have a good photo editing program (or even have an older version) you may need to use 24-bit color or 8-bit grayscale as the higher bit-rate may not be handled with the image editor. However, it’s better to start with the 16-bit scan and convert down to 8-bit as needed.
- Resolution is where you select the dots-per-inch (DPI). For 35mm film use at least 2400 DPI and for medium format film use at least 1200 DPI.
- If scanning medium format film, click on the Configuration button and then the Film Size tab. Select the appropriate size in the Medium Format drop down.
- Click the preview button and it will perform a quick scan and generate thumbnails of each frame. If you have very light black and white film, such as night photography, the scanner may have difficulty separating the frames, in which case you’ll want to disable the automatic thumbnail generating feature. This will scan the full negative and you’ll have to manually select what area of the film to scan for the final.
- Select the image you want to scan by clicking the little checkbox button next to the thumbnail. Then click on the image thumbnail to make some final adjustments before the final scan.
- Photo editors should be used to make most adjustments to your photograph so turn off any auto exposure, toning, or sharpening from the scanner. In fact, sharpening of the image should be one of the final edits made during production. However, you may opt to use the histogram of the scanner to manually provide a cleaner initial scan.
- Scan your final image.
At this point your photograph will very likely need to be edited further. See correcting color and tone with color photography for more hints.


