Quick Guide to Black and White Photography Part 9 – Printing B&W Photographs
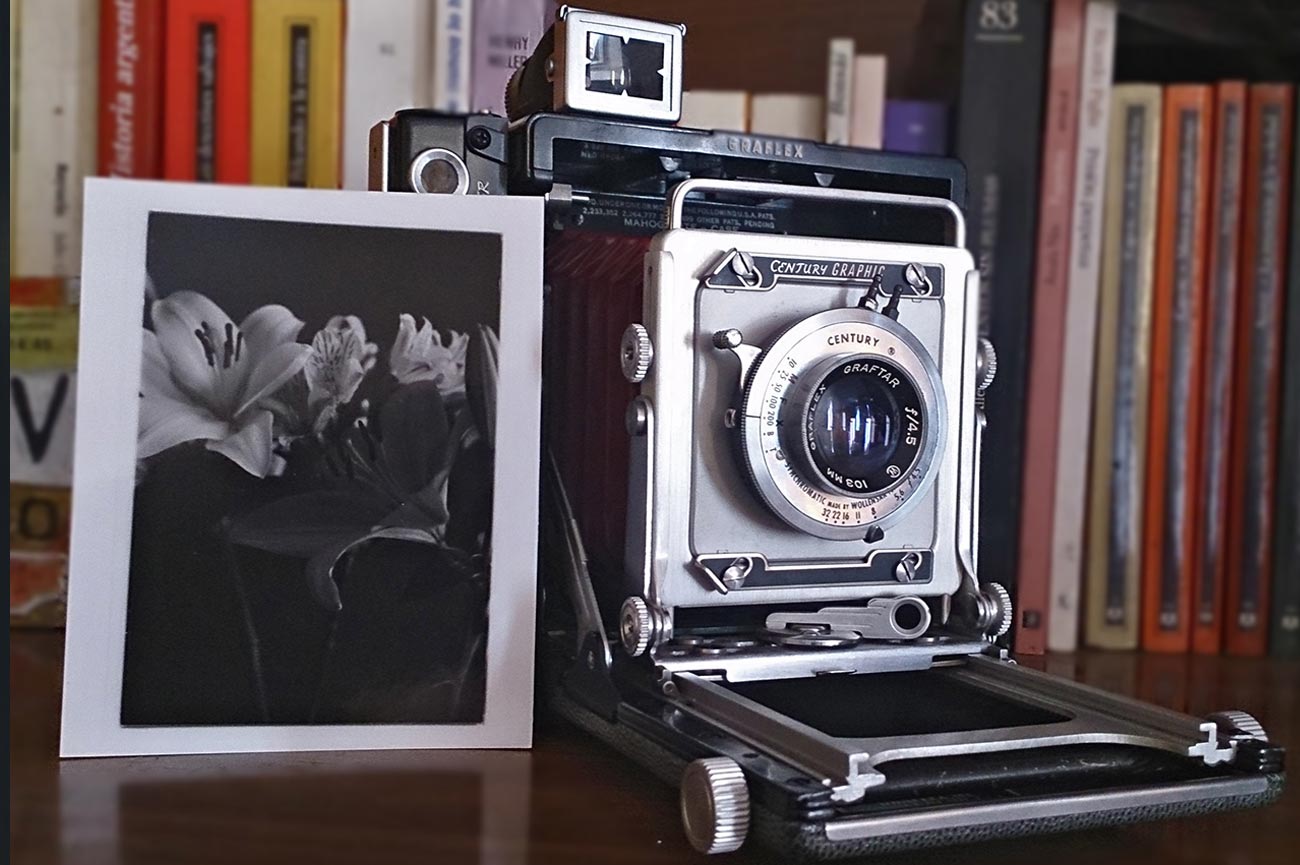
Photo by Guillermo Perez. Licensed under CC BY 2.0
First Black and White Print
The process to printing black and white photography in the darkroom is nearly identical to that of printing a contact sheet. The process of creating a test strip and developing the print is exactly the same but the main difference in a photo print is that instead of placing the negative directly on top of the paper you place the negative near the light source of the enlarger to show your image on the baseboard.
Your enlarger will have a film holder (also called film carrier) that does exactly what it says – it holds your film. The film holder is two identical pieces held together by a hinge that opens and closes around the negative, like a sandwich. For a 35mm film carrier there will be a hole just large enough for a single frame of 35mm film. Open the film holder and place the negative you wish to print so that it rests on the hole. Your film should be emulsion side down. (The emulsion side is the “dull” side.) Often times there are raised clips inside the holder to secure the negative from moving so make sure the film rests inside the clips and then close the negative holder. There is a lever, typically on the right hand side of the enlarger, which forces the enlarger to open like a set of jaws for you to place the negative holder in. Before you place the negative in the enlarger you should make sure it is dust free as the dust will show on your print as white specks. You can use a can of air to blow any dust off the negative. When you have the film holder in place and turn on the enlarger light you should see your image reflected on the baseboard. Open the aperture all the way to make it as bright as possible to assist with your print adjustments.
To make prints you need to have your easel on hand. If you have an easel where you can make custom sizes you should create the size you want at this point. Place the easel beneath your enlarger and move the enlarger up or down to fill the print space of your easel. On the right hand side of the enlarger is a focusing knob to adjust sharpness. It may help to place a white piece of ordinary paper in the easel to make the image slightly more visible. You can also purchase focusing tools that look like miniature microscopes and allow you to see very close, detailed aspects of the enlarged image so that you can make it as sharp as possible. Once your image is in focus close your aperture down to f11 to start.
Using the same steps that you did to create a test strip for the contact sheet, do the same for your first image. (Only this time you’ll have a negative in the holder rather than an empty holder.) After developing the test strip check to see where the richest blacks are without losing detail as well as where the whitest whites are without losing detail. If the test strip is too dark overall close your aperture 1 stop to lessen the amount of light that hits your paper and if the test strip is too light open your aperture 1 stop to increase the amount of light and make a new test strip. Alternatively, you can also add more time to your test strip if it is too light. When ready, expose a full piece of black and white photography paper using the exposure time you’ve determined and develop the print using the same guidelines that were used to develop the contact sheet. Congratulations, you now have your first print.
Using Filters to Print Black and White Photography
After you print your first photo, or maybe even your second or third or twentieth, you may notice that your image either looks flat and gray with very little contrast or has too much contrast between the blacks and whites. To treat this you can use your variable contrast print filters. As mentioned in the section that introduced you to the darkroom, these filters change the color of the light that hits your paper and affect the level of contrast. A #1 filter results in lower contrast while a #5 results in higher contrast. You can select an appropriate filter based on the outcome of your initial print to adjust this. Note that when you add a filter you will need to create a new test strip as the filter will affect the amount of light hitting the paper.
Correcting Highlights or Dark Spots on a Print
As you print in the darkroom you will eventually run into a problem where a majority of the print looks fine except for a single area that is either too dark or too light. This can be solved with techniques known as dodging (removing light on a dark spot to lighten it) and burning (adding light to a light spot to darken it). Both techniques require some material that does not let light pass through it, like the cardboard used to create a test strip, but you’ll likely need to cut the material to fit your needs. To use the dodging technique you will need to cover the dark area you want to hide from the light (dodge) for a second or two (maybe more). At the same time you want to subtlety shake the light blocking material so that it does not create any hard edging, like that created between various time exposures on a test strip. To use the burning technique you will need to do the opposite and cover everything except the light area you want to burn and give that area another second or two exposure. Again, make sure you shake the light blocking material so that it does not create hard edges.
Hopefully this quick guide has helped you with your black and white photography. To learn more about color and black and white photography please visit some of the other pages of this website


