Black and White Prints in the Darkroom
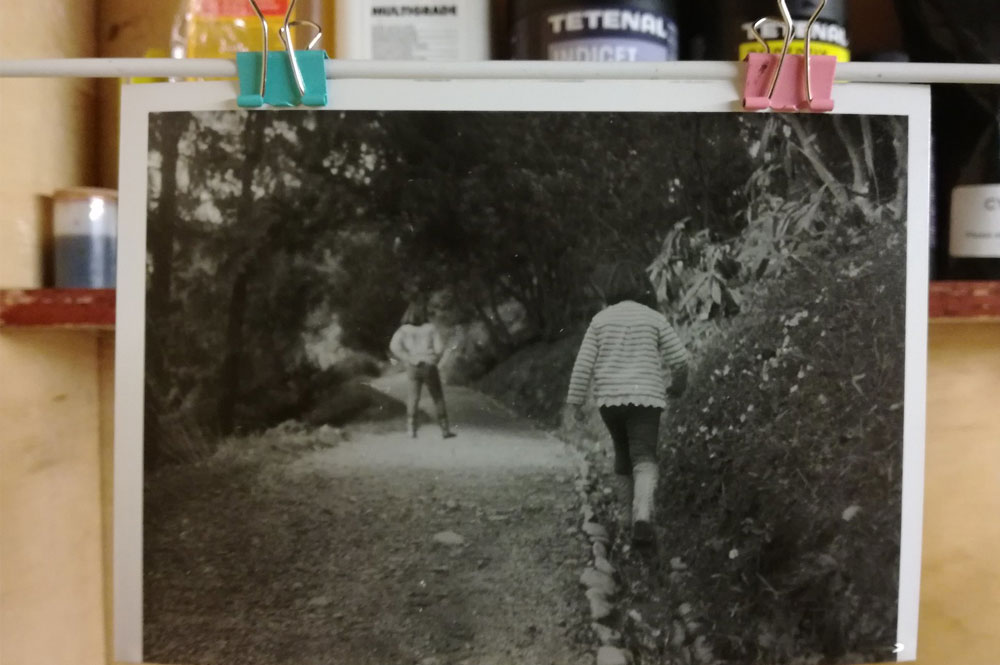
Photo by Martin Brigden. Licensed under CC BY 2.0
Printing black and white photography in the darkroom is still not uncommon, quote a few photographers still using traditional film photography techniques likely have a darkroom equipped for black and white film. Additionally, chances are that most learning institutions or art centers offering darkroom use are equipped for black and white photography printing and not color. Printing black and white film in the darkroom can be complicated and you may be forced to use limitless techniques to obtain the perfect print, but the core process is fairly simple and only becomes more complex when the use of dodging and burning, filters, dust removal, or other darkroom techniques are attempted.
Determining the Aperture Setting of the Enlarger
The first step in printing black and white photography is determining the aperture of the enlarger. Much like taking photographs with the camera, an aperture opened too large will results in a darker print while an aperture closed too much will result in a lighter print. Ultimately, the aperture setting of the enlarger will depend on the density of the negative being printed (or how light or dark the negative is). Light negatives allow more light to expose the photographic paper while dark negatives allow less light, meaning you will have to close or open the aperture as needed.
As a general rule of thumb for beginner photographers print two stops up from the most closed position. Simply set the aperture to the most closed position possible, allowing the least amount of light, and open the aperture two stops to add more light. From this position, you can begin making what is known as a test strip. The test strip is a piece of photographic paper exposed at different intervals so you can see how the photograph will look at different exposure times.
The Test Strip
 A test strip can be anything from a full size of photographic paper to half of it, but it should be a substantial enough size as you will judge differences between exposure areas, so you need to ensure you’ll get a good idea of the overall photograph. Using an object that completely blocks light, expose 1/6 of the paper to light for two seconds. After the first exposure has been made, reveal another 1/6 of the paper for two seconds until you have exposed the entire strip of paper. After development, your test strip will reveal exposure times ranging from 2 – 12 seconds. From there, you can decide which area of the print achieves the best blacks and whites without losing too much detail. This will help you to determine the length of exposure for the full print.
If the overall test strip is too dark you will need to close the aperture and if it is too light you will need to open the aperture and add more light. Every time you make a change to the aperture you are changing the amount of light exposing the paper, so you will need to do another test strip. Once you figure out the exposure settings and time, just put a full piece of photographic paper in place and expose it to reveal the entire print. After making this first print you can decide if you need to go back and make any changes to contrast, eliminate spots, do some dodging or burning, or any other technique to achieve that perfect print.


